Pitching a ball from 46 feet that will land across a small plate is not at all easy for a typical AA player.
 An average AA draft (8 and 9 year olds) will of 70-100 players will have about five very solid pitchers, another five probable pitchers and the rest you will have to teach.
Since pitching is the key enabler of the game, you have to become adept at getting kids to throw strikes.
Once they throw strikes to a target on a consistent basis (5 out of 10 pitches), then introduce a live batter. This will often change the success ratio to 1 out of 10.
Pitchers have to learn to focus on the batter and then throw a pitch. Much of throwing strikes is mental. If you take a player and have them recite, “I am going to hit the target,” before they throw, they will often hit the target far better than if they didn’t say this.
Players often throw without thinking about it. Pitching at the younger levels is much like throwing. If they have good throwing mechanics, they will be fine pitchers.
Finally, encourage pitchers to use the same mechanics with each pitch.
Before a Pitcher Begins Throwing
 We’ll start with a few things to remember about warming up:
- Warm up by running or jogging
- Stretch the muscles to be used (arms, legs, shoulders, back)
- “Warm up to throw” not “Throw to warm up”
- Plan on 10 minutes of this activity before you throw the first pitch
Have pitchers practice with a player holding a bat who is instructed not to swing. You’ll find the presence of a batter will “spook” a young pitcher. Its better to get used to this in practice then in a game.
Core strength has a lot to do with turning hips powerfully and with balance. If players want to pitch, they will have more success if they do lots of core strengthening (e.g.; sit ups, push ups, holding plank position).
Do not give a lot of advice on mechanics during a game. You can use one or two work cues you have worked on with a particular pitcher.
Yelling, “Throw hard,” really doesn’t help.
I have found that yelling, “Fix your hat,” is a great way to break up too much tension in pitcher.
Encourage them to take a deep breath and have fun. We don’t want them to take forever as games can be slow enough, but some new pitchers absolutely get the ball and almost run to the rubber and throw.
Make sure they get set and have a target from the catcher before they throw.
Encourage pitchers to do the same thing with every pitch. Many young pitchers turn each pitch into an experiment into what to try next – sidearm, windup, stretch, knuckle ball.
New pitchers just need a 4-seam fastball and if they are throwing a lot of strikes you can teach them the 2-seam fastball, but that should be the end of it. The key is that they throw a pitch, take three steps toward the catcher, ask for the ball and return to the mound.
Try to encourage them not to get into cat and mouse games with runners. If they catch the ball cleanly and go back to the mound with two or three quick steps, its unlikely the runner is going to steal home and if the runner does. Just have the pitcher throw to the catcher and get them out.
Work on having them showing no reaction after a pitch. Just ASK for the BALL.
Teaching Pitching Basics
This is oversimplifying things, but it’s a start.
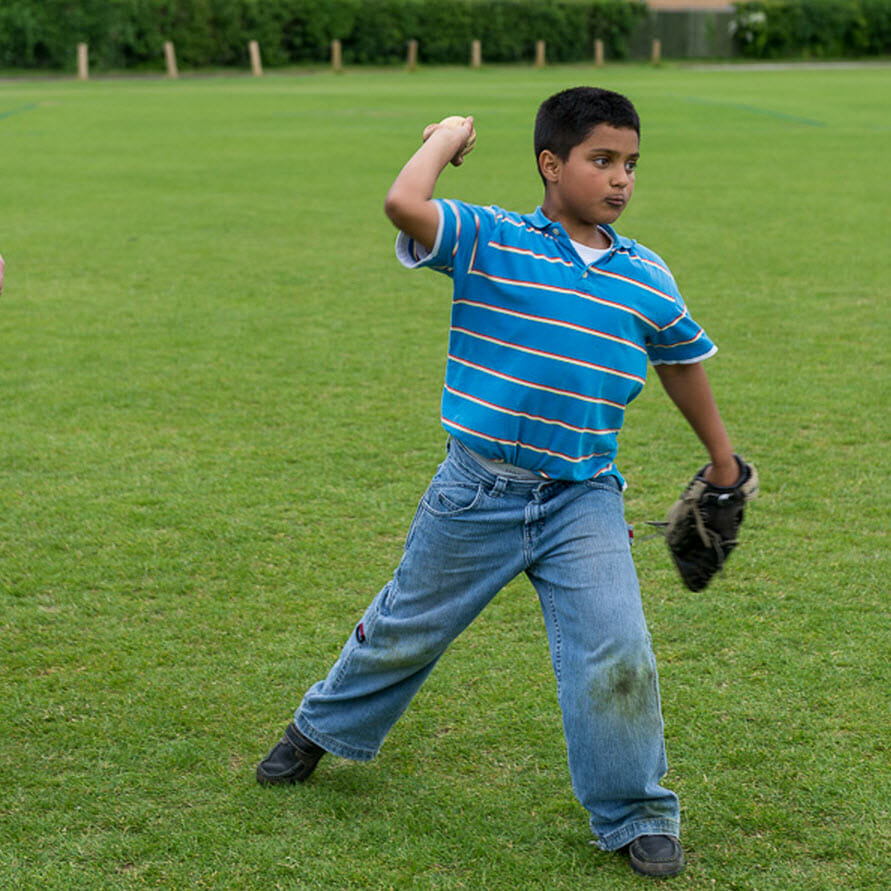
Start with Feet wide, knees bent, weight on ball of the foot and lean forward slightly. All new pitchers should start from the stretch (only one book differs on that and it’s a good one, but I digress — there is no such thing as real agreement between baseball coaches especially on mechanics). This means belly button points 90 degrees away from target and feet are on a line with the target. Here is my son, but he wasn’t posing for this he was about to throw and I wouldn’t mind his feet a little wider or his knees a little more bent. I am happy that he is leaning forward slightly. You rarely see photos of a 9 year old regular player. Its always all-stars or professional players, but odds are you won’t be coaching a team full of all-stars.
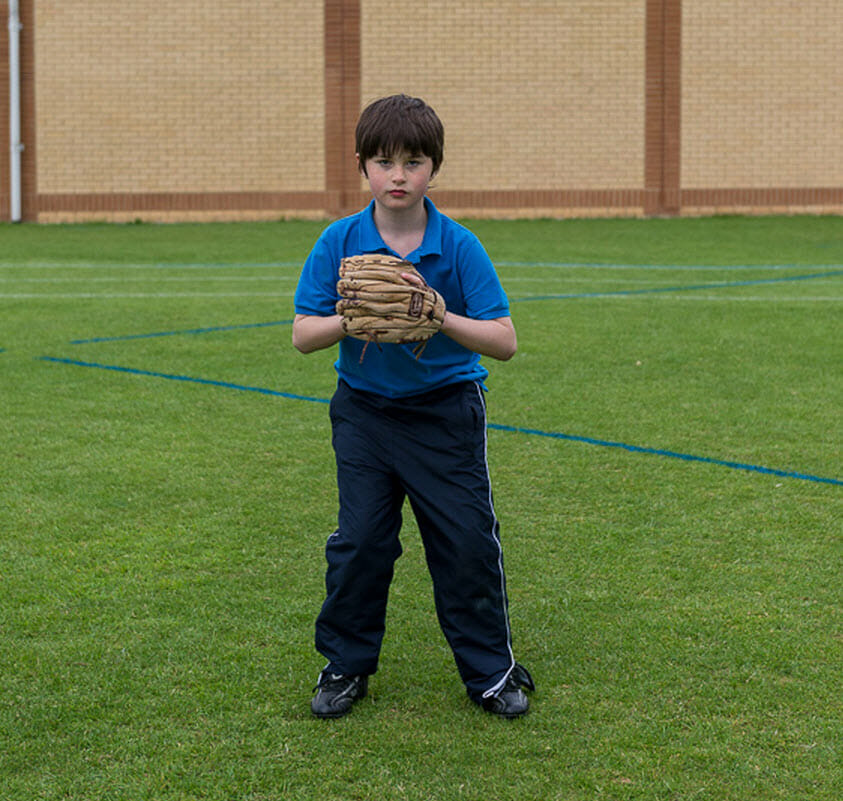
Hands together, feet wide, knees bent.
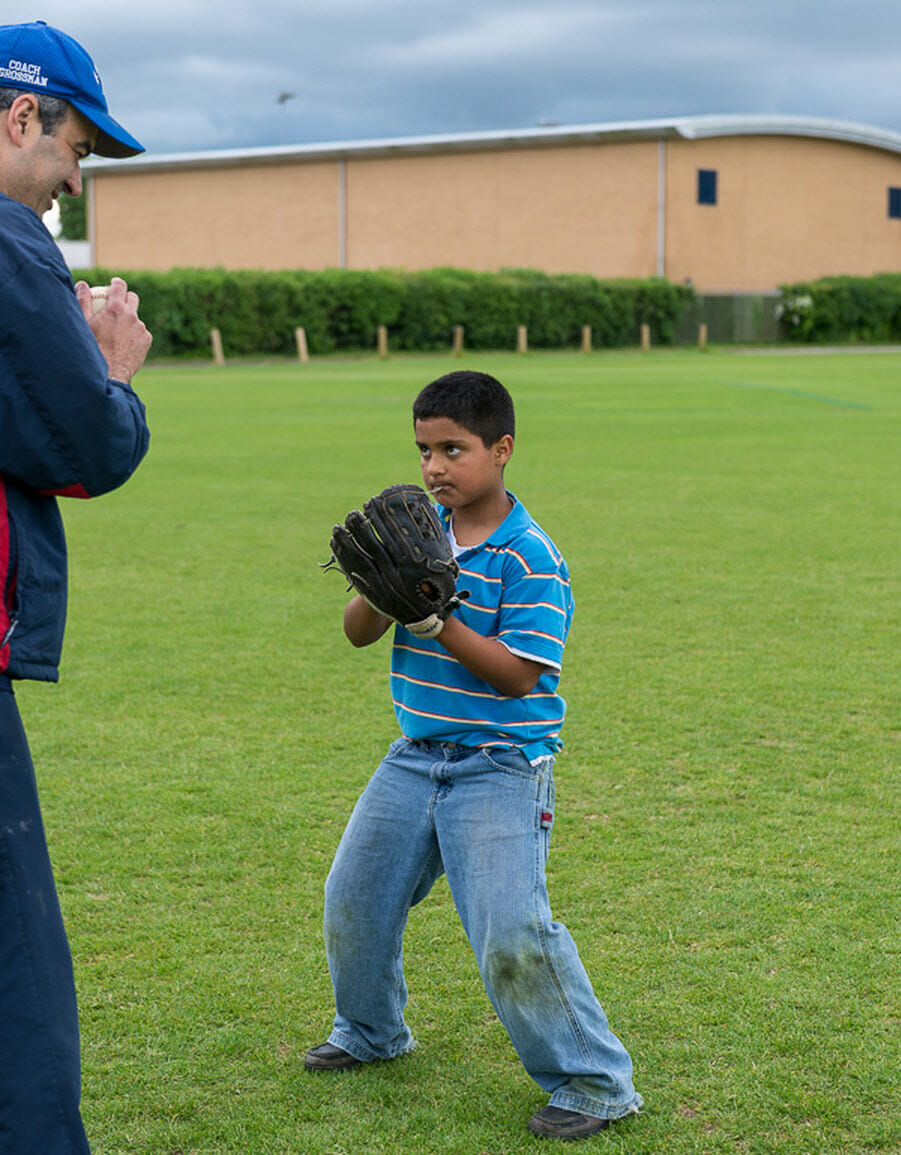
 Good feet wide, would like leaning forward a little more, good determination. Also shows me shadowing the player, so I act like I throw left handed so they can see everything (if they are right handed)
To start, just do a stride and throw. You can add a front leg lift later
A good long stride is nice too. At least 50% of body length and it can be as much as 70%. It has to be on a straight line to the target.
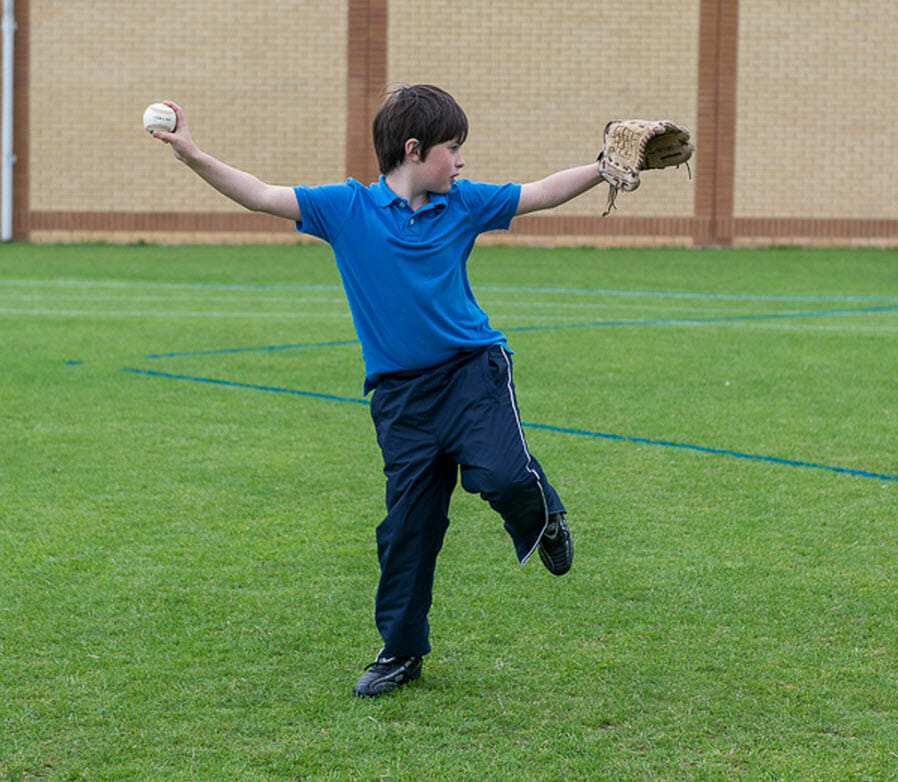
As the stride foot lands, the throwing hand gets to its launch position (furthest from the target). This is sometimes called the power position in basic books and Tom House calls it the flex-T. Here’s my son — wish he had a longer stride for this photo, but it gives you the idea. I’m obviously going to be adding lots of photos to the site over time but these at least give you some idea of what the text is talking about.
 Power position, stride foot has landed, arms are in “flex T”
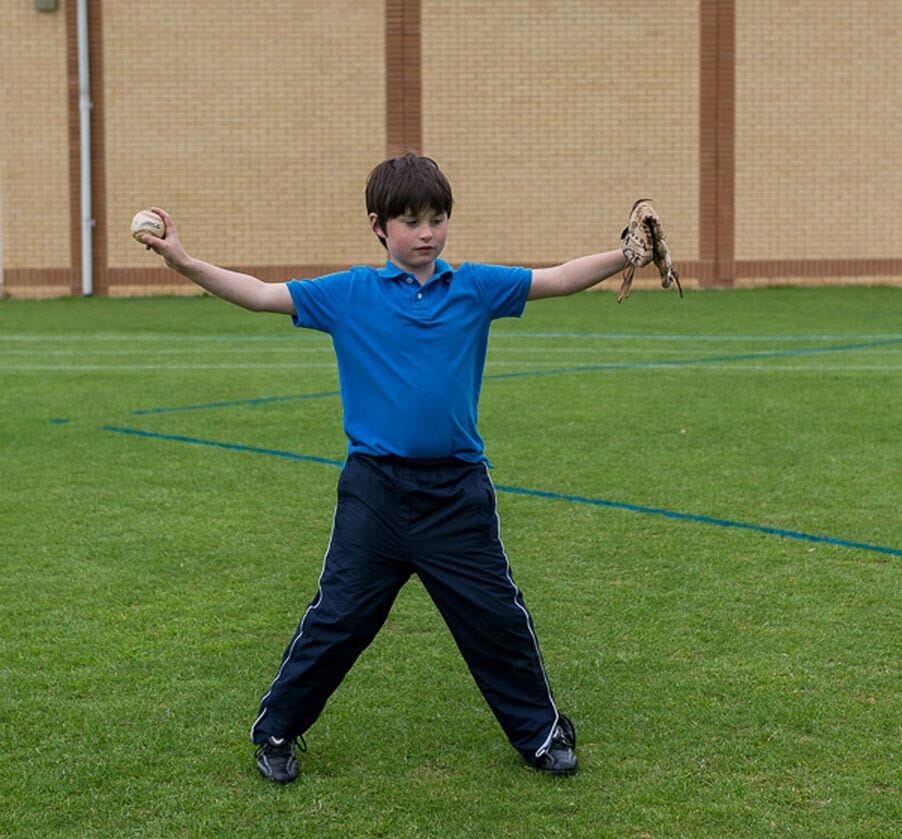
 Here’s our flex-T again. Need more leaning forward and you can see here lead glove is about to fly out.
Work on stride and arm back a zillion times until the timing is second nature. Stride foot has to land softly, weight stays back. If the ball is back before the front foot lands, more than likely the arm will have to stop and wait for the leg to land which destroys any hope for a nice fluid motion.
Hate to pick on my son here, but its the only picture I have that shows this so nicely so here it is. I’ll have to remember to add some if he ends up pitching this season.
Note that just because he is my son and I’ll be the coach of the team doesn’t mean that he will be a pitcher.
Note he does have good extension of the throwing arm here, but the stride foot has got to be down when the ball is at its furthest point from the batter. The drill for this is leg-up-gloves-up, leg down- glove down and teach the leg motion to be connected to the arm motion.
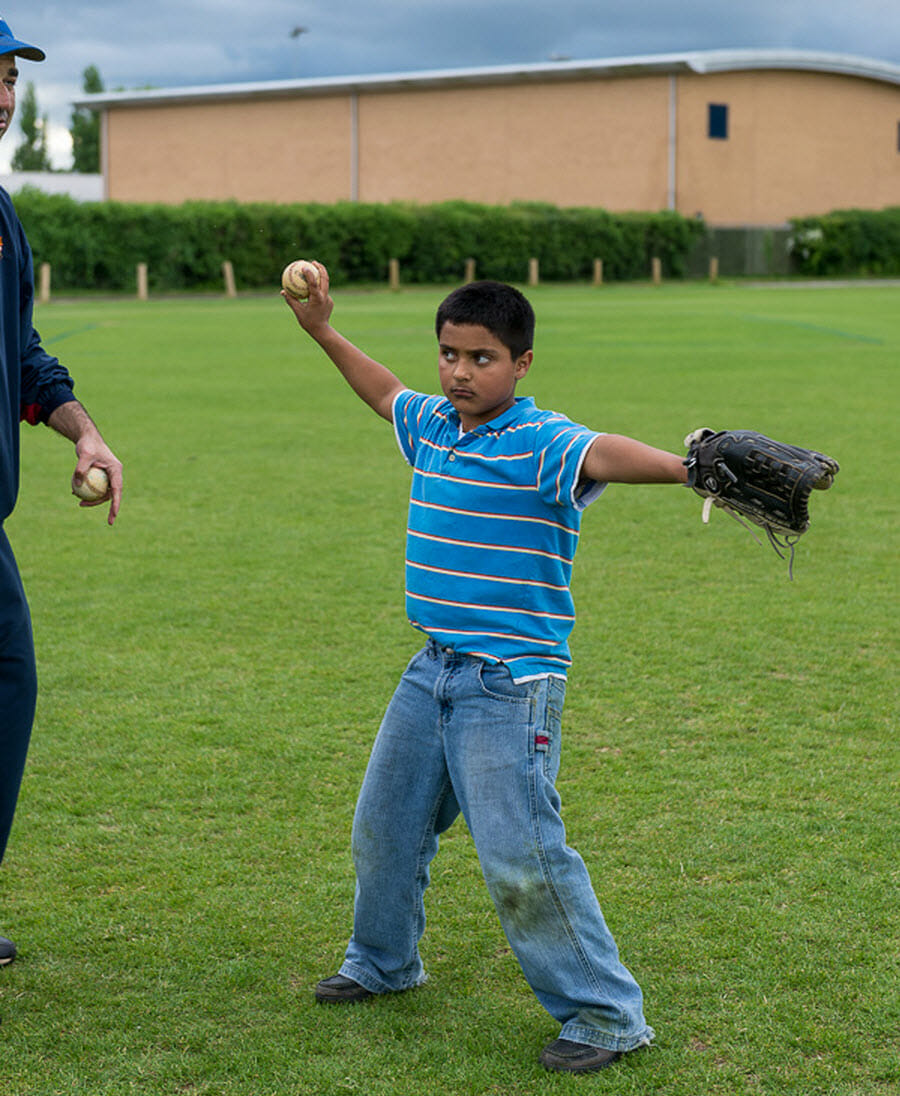
 When stride foot lands, back foot turns (just like in batting) and starts the hip rotation which is where all the power comes from. Back foot turns and arm starts moving forward. This is a nice one of my son turning back foot with a strong front side. Many players windmill their glove arm and that really messes up everything. If you can get players to get to this point, you can have them shut their eyes and they will throw a strike. Most mistakes happen before here (see the earlier photo just before this one).
 Weigh transfer from rear leg to lead leg. Front knee bends, back foot pivots. Notice strong glove side is CRITICAL.

 Rear foot has turned, eyes are on target, but lead glove is NOT strong.
The arm continues forward and does not stop so it follows through. Back leg comes up into air and if all goes well, player looks like superman as he reaches the second balance point. Eyes remain on the target at all times.
 Second balance point, ideally back is flat here and arm follows through.
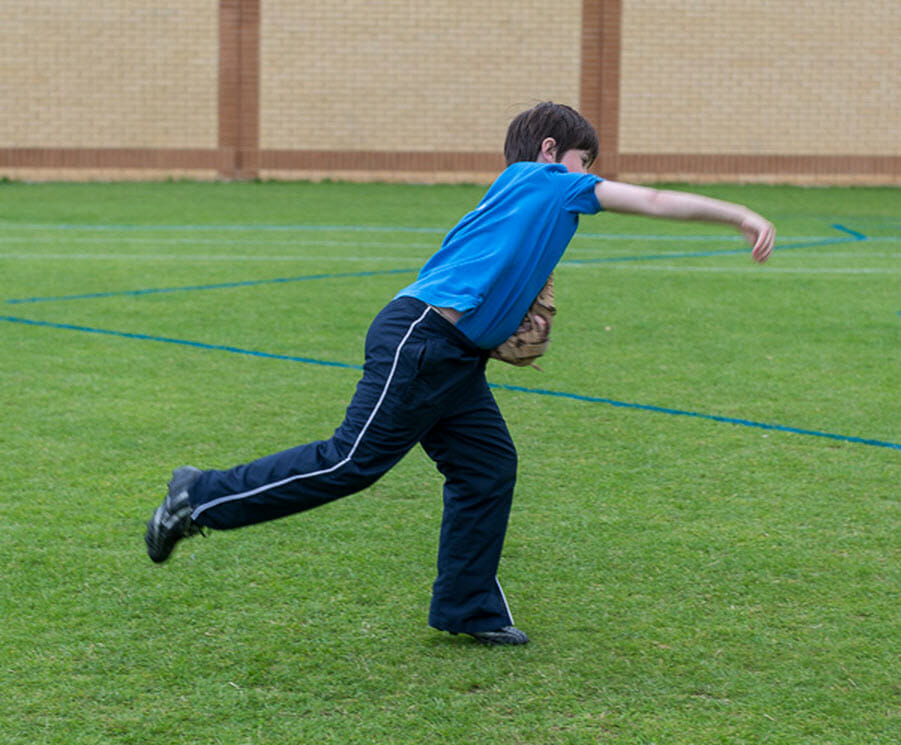
Key coaching points are balance, eyes on target and stride to target. Most pitchers will throw strikes if they really master these things. Once you get that far work on having them bend their back as they throw and add an initial leg lift to balance point.
Pitching Summary
On The Mound
Before starting the pitching motion (Step #0):
- Side of back foot firmly against the front of the pitching slab
- Ball is gripped properly (four-seam fastball to travel straight)
- If pitcher’s hand is big enough, ball should be held away from palm and cradled among the index finger, middle finger and thumb (like the proverbial egg)
- No death grip on the ball
- Front shoulder is facing home plate
Pitching Motion
Note: While the steps below imply that pitching is performed in distinct “steps”, the reality is that the final three “steps” occur very quickly. The goal is to have those final steps performed as an integrated set. We break them out here only for expository purposes.
Step #1: The Look-In:
- Legs wide (almost stride-length; stride should be approx 70% of body height), knees bent.
- Eyes on target; head never moves from target (from step #1 through #5).
- Ball in throwing hand.
- Glove on knee of front leg
- Toes of front leg are facing target and is making a “T” with the back foot that is astride the pitching slab.
Step #2: Set Position:
- Knees stay slightly bent
- When the pitcher closes his stretch position, the feet should NOT be together. Rather they should close from a wide stance to about a shoulder width stance or slightly less.
- Ball hand and glove hand now come together at waist (not at chest level)
- Eyes still on target
Step #3: Leg/Hand Lift:
- Front leg comes up; thigh parallel to ground; lower leg perpendicular to ground
- Simultaneously, arms come up to chest level; ball is still in glove
- Think of imaginary string on arms pulling leg up at same time
- Good time to have pitcher “stop” and hold balance with leg up
- At balance point front foot should be directly under knee and relaxed (not tucked under thigh, which is what most young players tend to do when left to their devices) with foot dangling comfortably.
- Eyes still on target
(Note: Each of Steps #1-3 can be repeated as “stand alone” steps with the pitcher to check their mechanics.)
Step #4: Power Position (a LOT happens here):
- Eyes still on target
- Front leg strides forward, directly toward the target
- Stride should be long enough to generate power but also keep balance when landing
- Arms separate, with the throwing hand going back (and remembering all the throwing fundamentals of peace sign to CF, elbow above shoulder, etc.) and the front arm either pointing directly at the target or being tucked close to the body with the elbow pointing toward the target.
- Throwing arm is fully back when stride foot hits ground.
- Front foot lands squarely or on ball of foot.
- As front foot hits ground, hips and upper body rotate toward the target. The rotation now puts the throwing hand directly behind the ball.
- Glove hand stays out and chest moves toward glove. Strong glove hand is key to strong front side.
- Upper body is strong, either perpendicular to ground or a slight bend forward.
- Ball is released in front of the throwing shoulder.
Step #5: Follow-Through
- Eyes still on target
- Arm follows through like a whip, with the throwing hand touching the outside hip
- Back is bent
- Back leg is lifted, “stepping over the bucket”; back leg does not drag on ground when pitch is released
- All momentum is headed toward target
- Sometimes called “Superman” position but remember that throwing arm follows through to outside hip and does not stay in front of body.
- Pitcher lands with both feet balanced, ready to field position.
Specific Pitching Drills
- Teaching Full-Torque Pitching Drill
- Teaching Half-Torque Pitching Drill
- Towel Drill – Pitching Drill